After considerable set-backs and way too many chocolate chip cookies (see previous post), I finally had my break-through and completed organizing the kid’s toy room. What I had to get past was my magazine-perfect vision for what I wanted to accomplish. I had to remind myself that my goal is to organize, not renovate and redecorate (although that would be nice — next year’s blog :-)). In other-words, my goal is to set things up in such a way that it is simple for the children to clean-up their toys and keep them neat, and to do so using mainly what we already have for storage. I may not have the Pottery Barn toy room, but I think I have achieved order.
The first obstacle I realized was simply the amount of toys the children have . . . really, how did they acquire so much!? I went through and made some decisions about what they did and did not play with. I threw away and boxed up to donate. As I set about organizing what was left, I realized there were still more than could fit on the shelves & in the bins. I made a third box. This is a box I am keeping because it contains toys that are played with; but I have it hidden away. In a few months, I will bring those toys back and rotate out some of the toys currently sitting on the shelves. I was a little concerned about how this might work, but they haven’t even noticed there are toys missing. In fact, when I brought them in to explain the new system, you’d think they’d been given all brand-new toys.
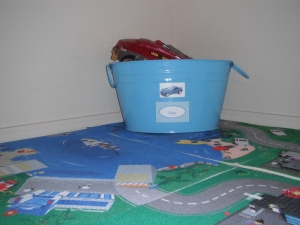
The next step was to label specific spaces. I found printable label’s on Better Home’s and Garden’s site that were ideal for what I wanted to accomplish. I also found pictures to represent each item I wanted to label, so that even my two pre-schoolers would be able to understand. I used packaging tape to fix the label and picture to the assigned bins or cubicles.
For my fabric or basket storage containers, I placed the label and picture back-to-back, used packaging tape to “laminate”, then hole-punched it and used ribbon to tie it in a visible place.
I did leave a few bins un-labeled in order to allow them a few miscellaneous toy spots for quick pick-up. Here is the final result!
Mission accomplished, and it didn’t break my shoe-string budget. I did purchase 6 new fabric cubes (buy 2, get 1 free) and some packaging tape, bringing my room make-over to $24 and some change. Next stop . . . the linen closet!


